
Projects
Each building with its locations, floor plans and settings is a separate project.
You will get to your projects list when selecting from the top right projects menu “View more” or “Projects” from main menu. Every project has a name and a unique ID. This ID is used to open the project. A list of all projects with the URLs to an example view is listed on the projects page.

You can select a project by clicking “Select” button in the same row. For selecting another project click on the Select button. Selected project’s name will appear on the top right menu.
You can also use search over the projects list. When typing in the search input, the projects list will be filtered by the string you typed. If you’ll have a long list of projects, this will make project selection faster.
Creating a new project
To create a new project go to Projects page and click on the “New project” button. This will open a new form where you have to insert the projects name.
This will open the following form.
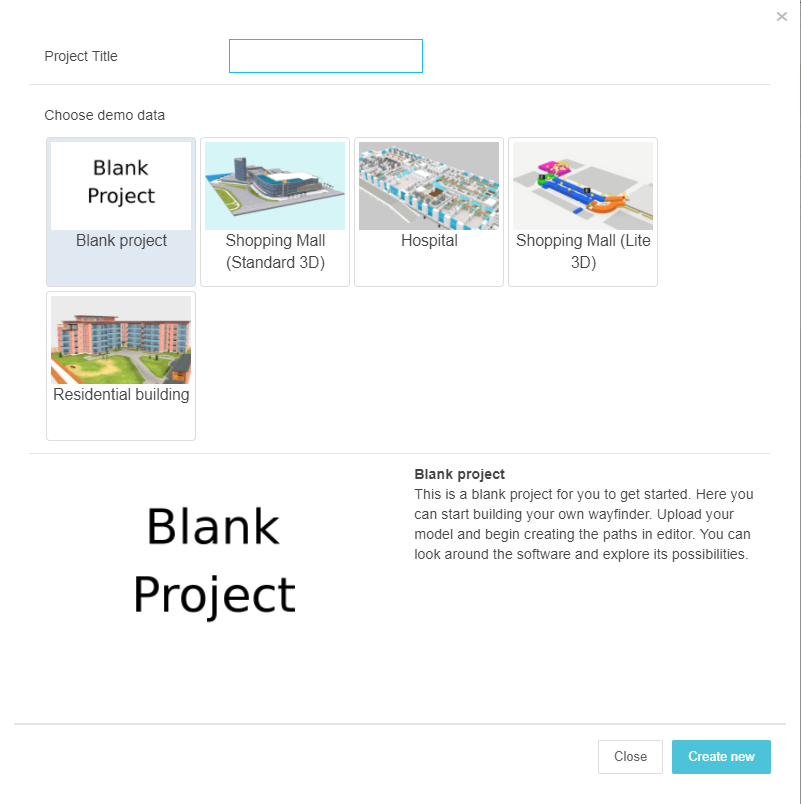
Insert a project title and if you need demo data, then select one. Button “Create new” creates the project and selects it also.
If you have reached the projects limit, you’ll get a error message. New project was not created and you have to change your plan, to allow new project creation.
Project overview
When you click on “Dashboard” project’s overview page opens. In this page you can change project/building name and set up address, location, logo etc.
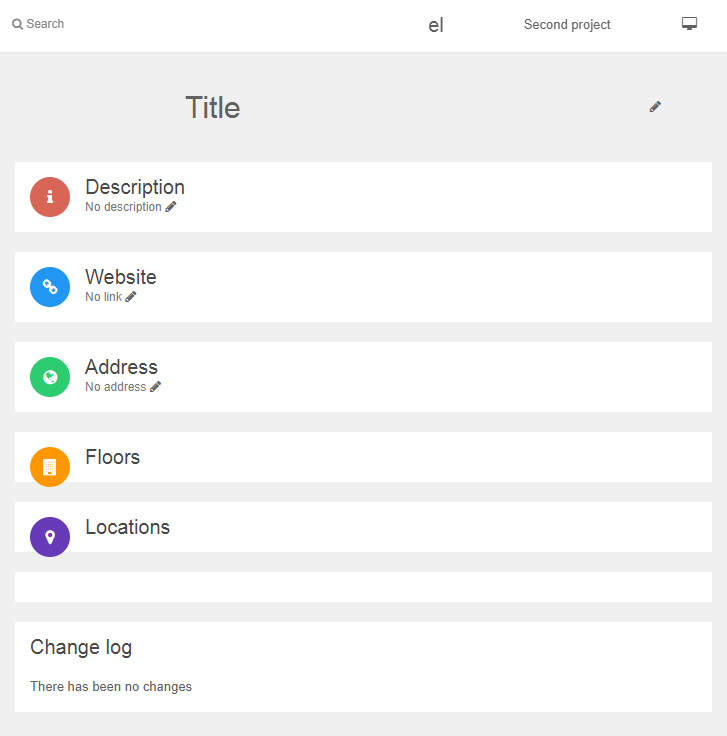
In this overview page, there are also main figures from statistics. If you have statistics add-on ordered you can go to statistics section by clicking on these figures. If there are no clicks or visits, you’ll see “NaN”.